Improve your Prototypes in 2021
Prototyping in Adobe XD
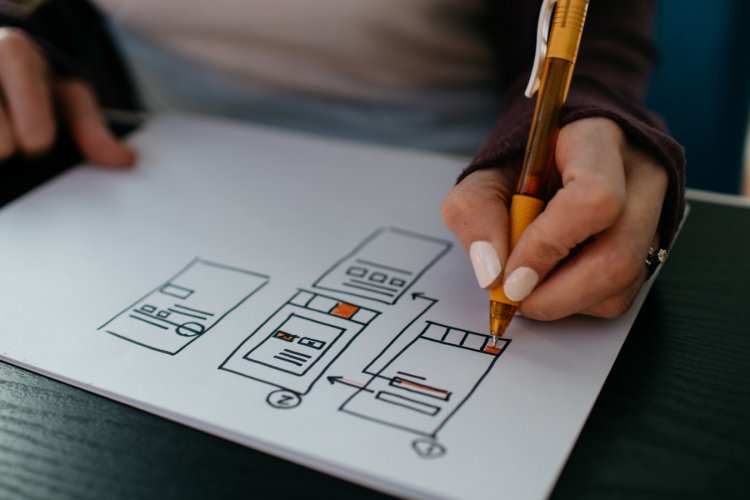
Presentation of designs to clients is very important this days. Specially when you are presenting a Web design or an App Design because this will be the way for the clients to understand the flow and process of your design. Here Adobe XD will come very helpful, Adobe XD is an easy to use design platform and one of its main feature is the prototyping which help designer in presenting there designs to their clients.
What is a Prototype?
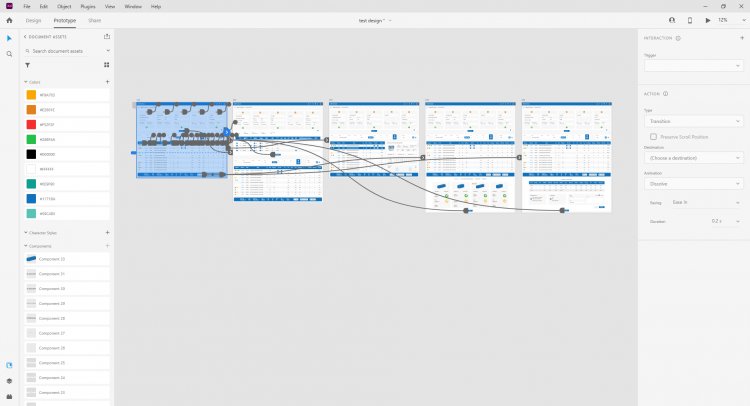
A Prototype is the first glimpse and test of a product's usability. In Adobe XD you use tools and features to create elements and add artboards. You then switch to Prototype mode to draw interactive links between artboards.
Prototyping THEN vs NOW
Adobe XD is constantly updating putting new features and improving their software. Back then in 2016 prototyping in XD is not good as it is now. When the Adobe XD is first released it doesn't have many features when it comes to prototyping back then you can only link different artboards and add simple on click functions also choices of different transitions from pages to pages. But now as XD is constantly updating its adding more features in prototyping which gives designers more ways on how they present their designs.
Tricks to Improve your Prototype in 2021
When you are designing a website or an app you want to put hover or on click animations specially on buttons. but when you present it to the client sometimes they will not get the idea that that button have an hover animation. but with this easy trick that i use when prototyping you can animate buttons and other elements in your design. But it is not just for hover animations for your buttons but the usage of this technique is limitless if the you will understand the basic of how it works. Here is the basic steps in making it.
1. Create a Component
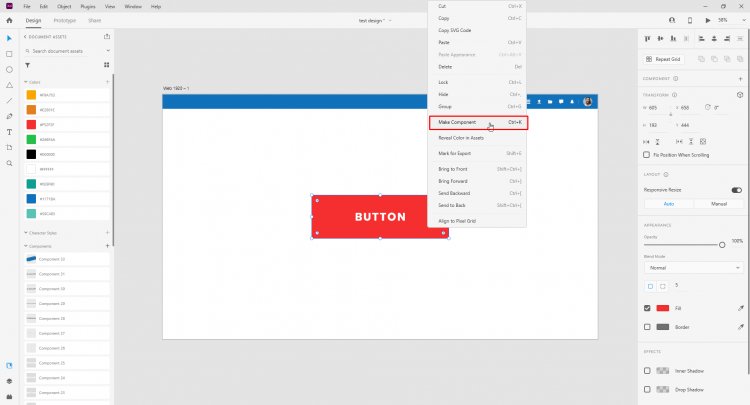
First when you want to this is you alway need to make a component. Components are objects that you can reuse across your artboards in a xd document. you need to select one or more individual elements and right click then click Make Component or (Ctrl+K).
2. Add Hover State on the Component
When your'e done creating a component next is you need to create a new State for the component. For this example i will only use the Hover State.
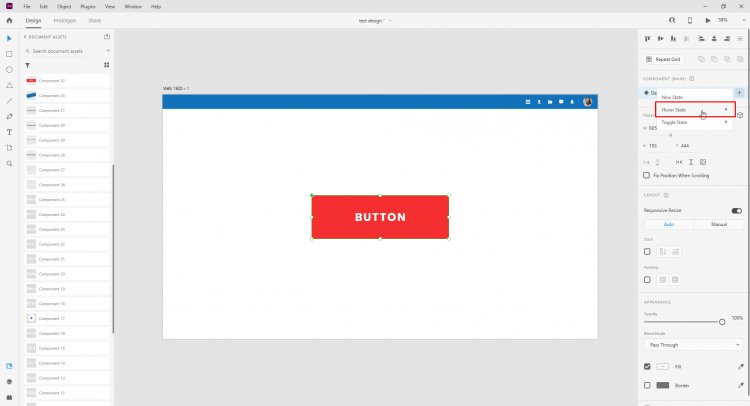
3. Edit the Hover State
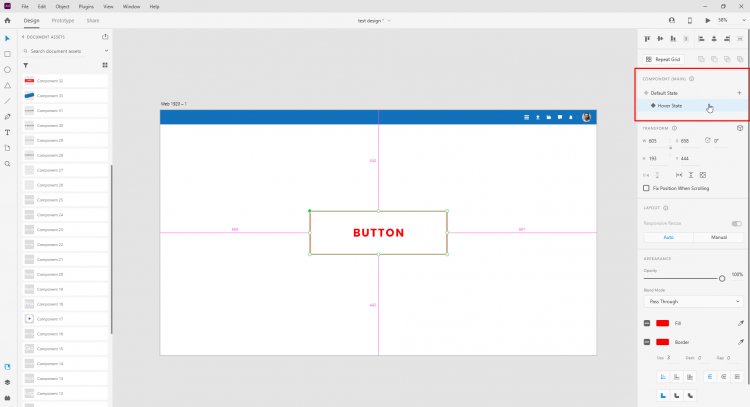
After you added a Hover State on your component. You need to select the Hover State in the component tab. While Hover State is selected you need to edit the button to the way you wanted it to look, in this case i just remove the fill of the shape and use only the stroke then change the text to red.
4. Preview the Effect
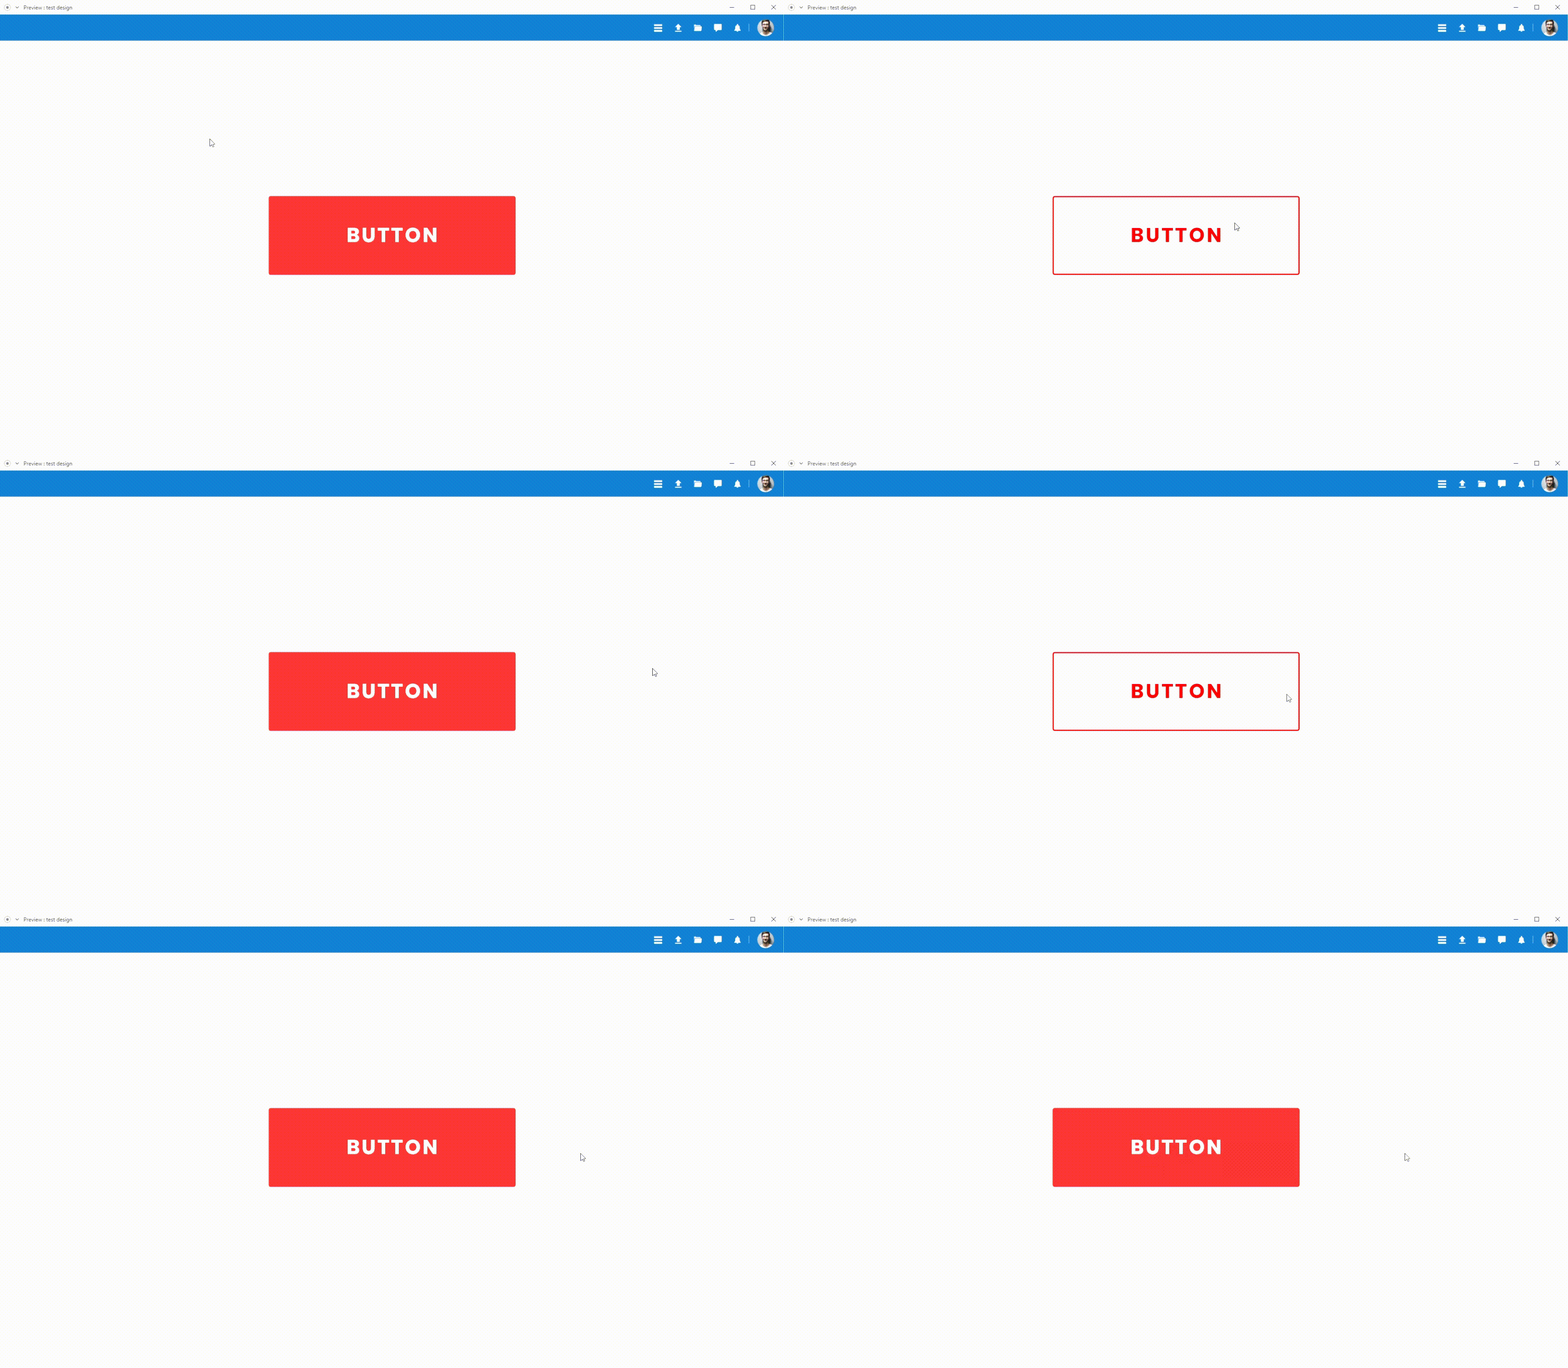
Before you preview the effect you need to select the Default State again in order to preview it properly. You can also adjust the timing of each animation in the Prototype tab.
More uses of this Technique
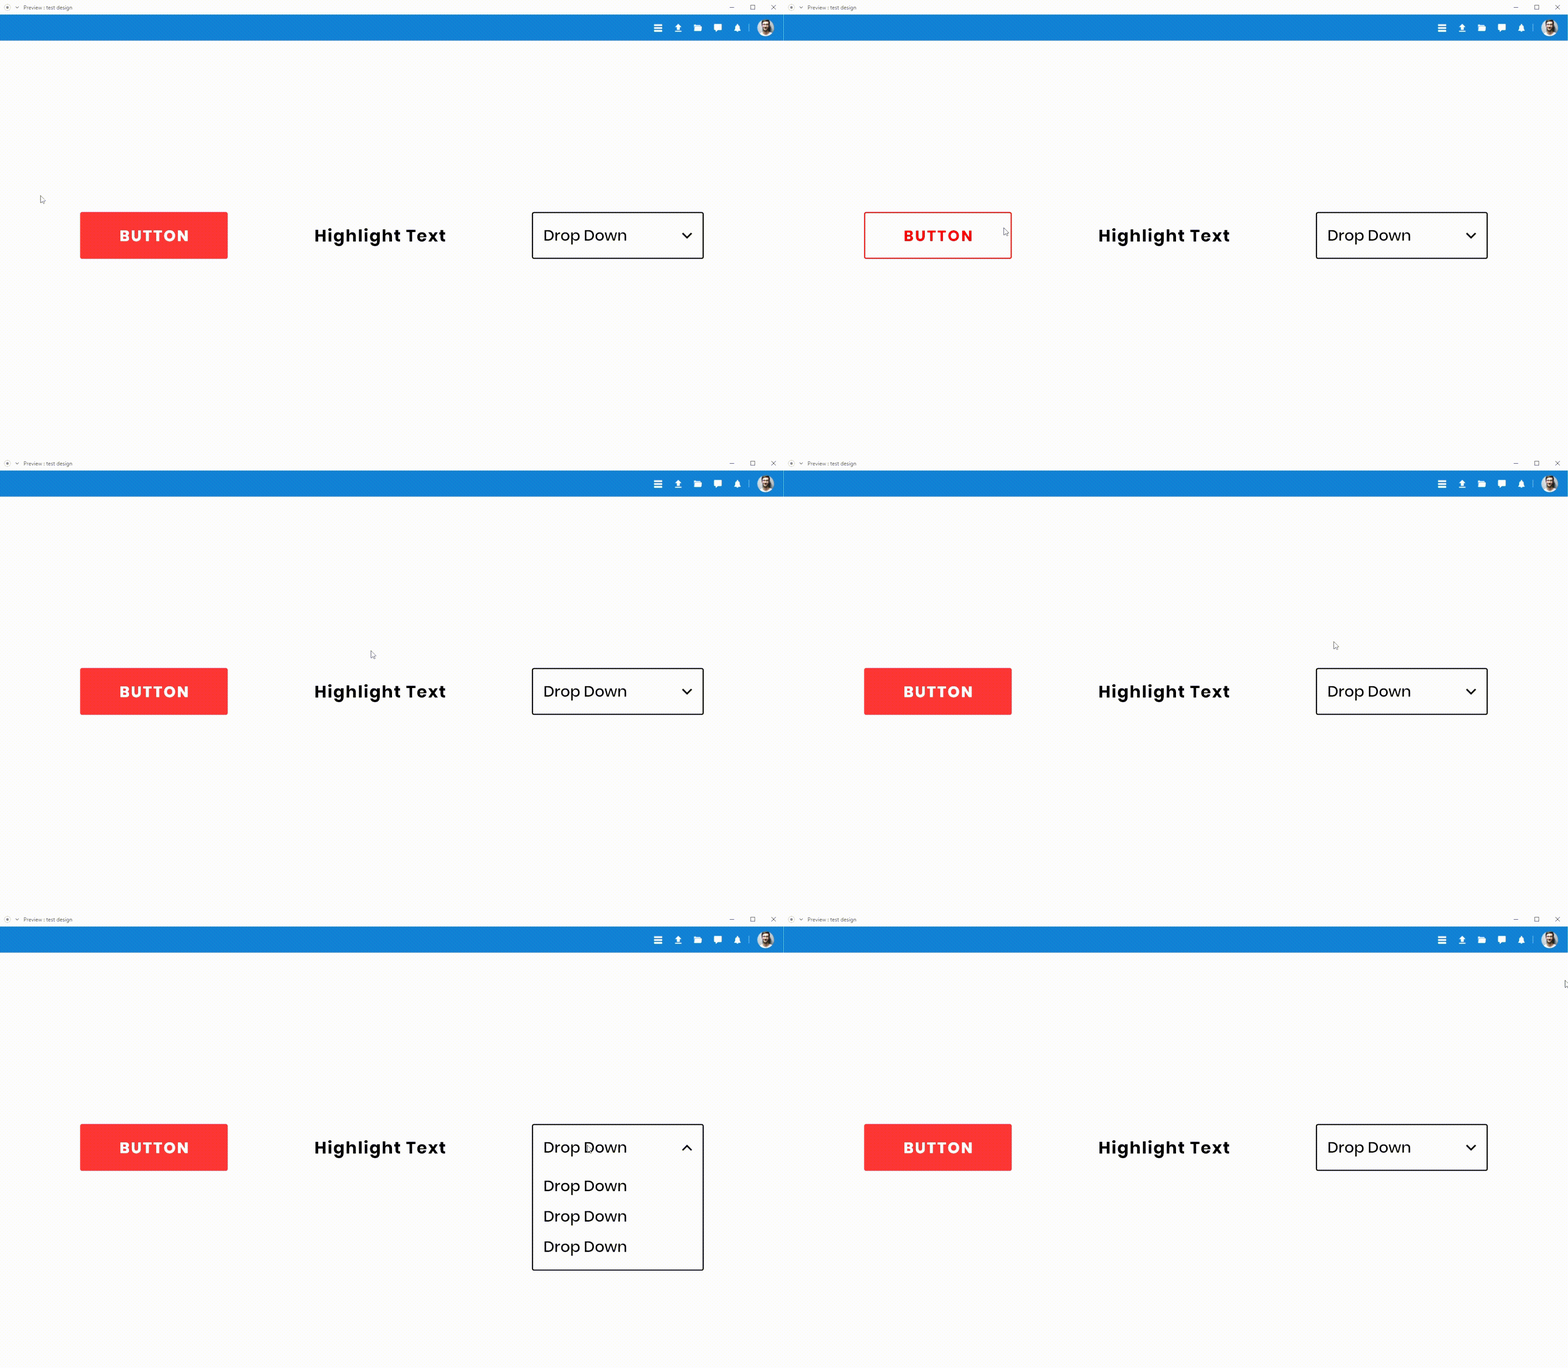
Like mentioned earlier the possibilities of what a designer can do with this technique is limitless it will just depend on the designers creativity. Also Here are more example of how you can apply this simple technique in improving your prototypes.
Thank You if you had read this far. I hope this will give you new ideas and help improve your Prototypes in the future.


